
CHALLENGE 1 - introductory course
Install programming software
15 min


STEP 8
I defined the chosen digital PIN.
This PIN is the one we use to connect the LED Matrix to the Arduino.

STEP 8
I defined the chosen digital PIN.
This PIN is the one we use to connect the LED Matrix to the Arduino.

STEP 8
I defined the chosen digital PIN.
This PIN is the one we use to connect the LED Matrix to the Arduino.

STEP 8
The timer bar is responsible for letting us know how much time we have left. To do this, we'll use a bar that acts as a counter.
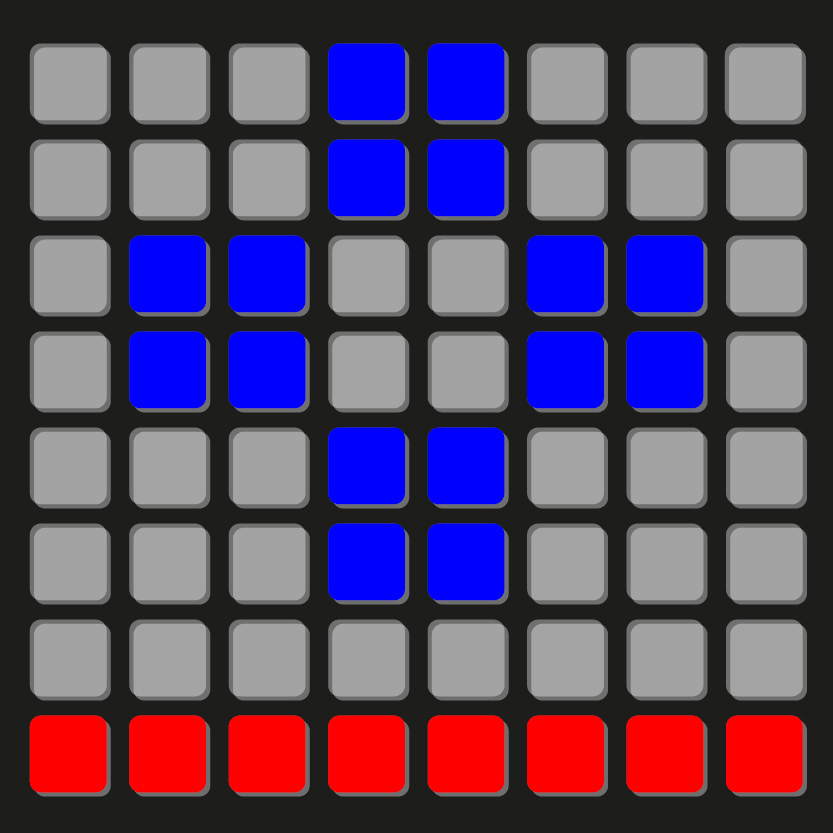
We must rely on the matrix to see which pixel we want to turn on a color, example: Red.


STEP 8
I defined the chosen digital PIN.
This PIN is the one we use to connect the LED Matrix to the Arduino.

STEP 8
This block is of the same style as the previous block, it calls a series of blocks that were previously defined, in this case that action is to turn on 4 squares of 4x4 LEDs in 4 different places on the screen.
%2012_52_44.png)

STEP 9
This block must be used after making any changes to the LED configuration.
Otherwise, the changes will not be reflected in the array.

STEP 10
Wait until.... Makes your program wait for an event to occur before continuing. For example, you can wait for a sensor to detect something or for a button to be pressed.
Example: Imagine you have a button connected to your Arduino, and you want a light to turn on when you press it. You could use the "wait until" block to have the program wait for the button to be pressed before turning on the light.

STEP 11
We are going to use the = operator. This means that if the digital pin D3 is pressed (1) then it executes this action.
In this case we start the game.

STEP 12
In this case, the initial value is set to 0. This could be useful for counting something, such as the number of times a button is pressed or the number of times an event occurs.

STEP 13
This block is very useful when you need to control the time in your program. For example:
Wait a while: Wait 3 seconds, then move forward.
Repeat Patterns: Every 2 seconds, turn the light on and off.
Sync Events: Every 5 seconds, both characters jump.

STEP 14
The "forever" block is essential for creating programs that react to events continuously.

STEP 15
Set RandomNumber to a random number between 1 and 4
What does this block do?
This block generates a random number between 1 and 4 and assigns it to a variable called "NumeroRandom".
That is, each time this block is executed, a different number is obtained between those two values.

STEP 16
Now we need to add 3 blocks...
Block 1: Imagine you have a rule: "If today is Monday, then I will wear a blue shirt." This block works in a similar way.
Check a condition:
Execute code if the condition is met:
1=> In “Control” use the if__then… block
2=> In “Operators” use the block with tips 0=0
3=> In “Variables” use Random Number block.
We mean: If the random number = 1 comes out, then execute the code below (In this case it will turn one of the squares green)

STEP 17
We duplicate the same blocks and place them inside the "if else" condition since we must program each random number with a button.

STEP 18
What does "Upper Square" mean?
In this case, the function called refers to turning on a certain number of LEDs (4) in green in a certain location in the LED matrix.
We already defined this function elsewhere: search the screen for the code associated with that block.


STEP 19
We duplicate the same blocks and place them inside the "if" condition since we must program each random number with a square.

STEP 20
We add the display block to each random number so that the new array configuration is displayed on our screen.

STEP 21
This block is used to increase or decrease the value of a variable (quantity in this case) by x units (1).
In this context, this variable is related to a counter that controls the number of points obtained in the game.

STEP 22
The "Wait" block pauses the program for a specified amount of time, like pausing a movie. It's used to delay the next instruction.
For example, in animations to control the speed between frames.

STEP 23
If numeroRandom = 1, the button connected to digital pin 3 is expected to be activated, and so on with the other buttons.

STEP 24
Note which pin corresponds to each button and square. Duplicate this action for each random number.

STEP 25
At this point we have finished programming our game…
Now we're going to add a series of blocks that are already in our file so we can display the final score on screen and watch our timer animate.

