CHALLENGE 1 - introductory course
Install programming software
15 min

STEP 3
Open Arduino
Double clicking on the program icon.
adjust windows
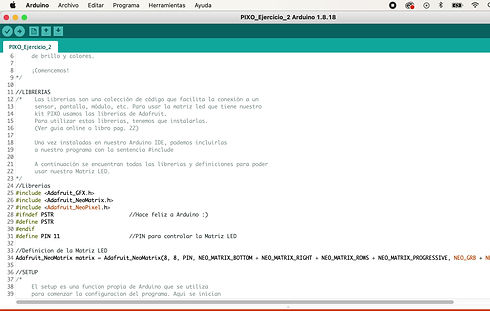
To have a better visualization we are going to place the windows 60% / 40% as shown in the image.

STEP 4
Install las bookstores
Libraries are a collection of code that makes it easy to connect to a sensor, display, module, etc. To use the led matrix that our PIXO kit has, we use the Adafruit libraries. To use these libraries, we have to install them. (See online guide or book page 22)
Once installed in our Arduino IDE, we can include them in our program with the sentence#include
Libraries:
Adafruit_GFX
Adafruit_NeoMatrix
Adafruit_NeoPixel

STEP 6
Connect your PIXO to the computer using the USB cable
The USB end goes into the computer's USB port.


STEP 7
Tell your Arduino which port it is connected to.
Tools/Port/*select_port*
You have to mention dev.Arduino Uno, dec/cu.usbserial or COM. If many appear, try until it lets us upload.

STEP 8
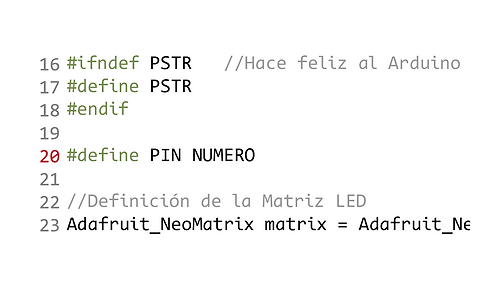
I defined the chosen digital PIN.
This PIN is the one we use to connect the LED Matrix to the Arduino.